
Buenos dias a tod@as!!
Hace unos meses, el gran Jorge de la Cruz, publicó en su blog un post en donde se explicaba cómo instalar AWX a través de docker.
En esta ocasión, a mi me gustaria profundizar un poco mas y ver el paso a paso de cómo seria la instalación sobre CentOS 7, por ejemplo.
Ansible AWX es la versión open source de Ansible Tower, una interfaz gráfica para manejar Ansible de forma cómoda y mas amigable. Ya hablé de Tower hace tiempo aquí
1) Requisitos del servidor
- CentOS 7
- 2GB de memoria
- 1 vCPU
- 20GB de espacio en disco
Verificamos la configuración SElinux y que esté en modo permisivo:
1 | |
NOTA: Se puede modificar con el fichero /etc/selinux/config
Editamos el fichero de hosts /etc/hosts para que se resuelva a si mismo:
1 | |
Habilitamos el firewall:
1 | |
Habilitamos el repositorio EPEL para CentOS7:
1 | |
Necesitaremos posgresql para instalar AWX así que, habilitamos el repositorio:
1 | |
Instalamos posgreSQL:
1 | |
Instalamos el resto de paqueteria necesaria (nginx, ansible, wget…)
1 | |
2) Instalación Ansible AWX
Añadimos el repositorio:
1 | |
Instalamos el rpm:
1 | |
Inicializamos la BBDD:
1 | |
Inicializamos el servicio de mensajeria Rabbitmq:
1 | |
Arrancamos el servicio PosgreSQL:
1 | |
Arrancamos el servicio memcached:
1 | |
Creamos el usuario para la BBDD (ignoramos el error):
1 | |
Creamos la BBDD (ignoramos también el error):
1 | |
Importamos los datos en la BBDD:
1 | |
Inicializamos la configuración de AWX:
1 | |
3) Configuración NGINX
Inicialmente hacemos un backup de la actual config:
1 | |
Nos descargamos el nuevo fichero de configuración:
1 | |
Habilitamos y arrancamos el servicio NGINX:
1 | |
Arrancamos los servicios AWX:
1 | |
Habilitamos los servicio para que arranquen automaticamente:
1 | |
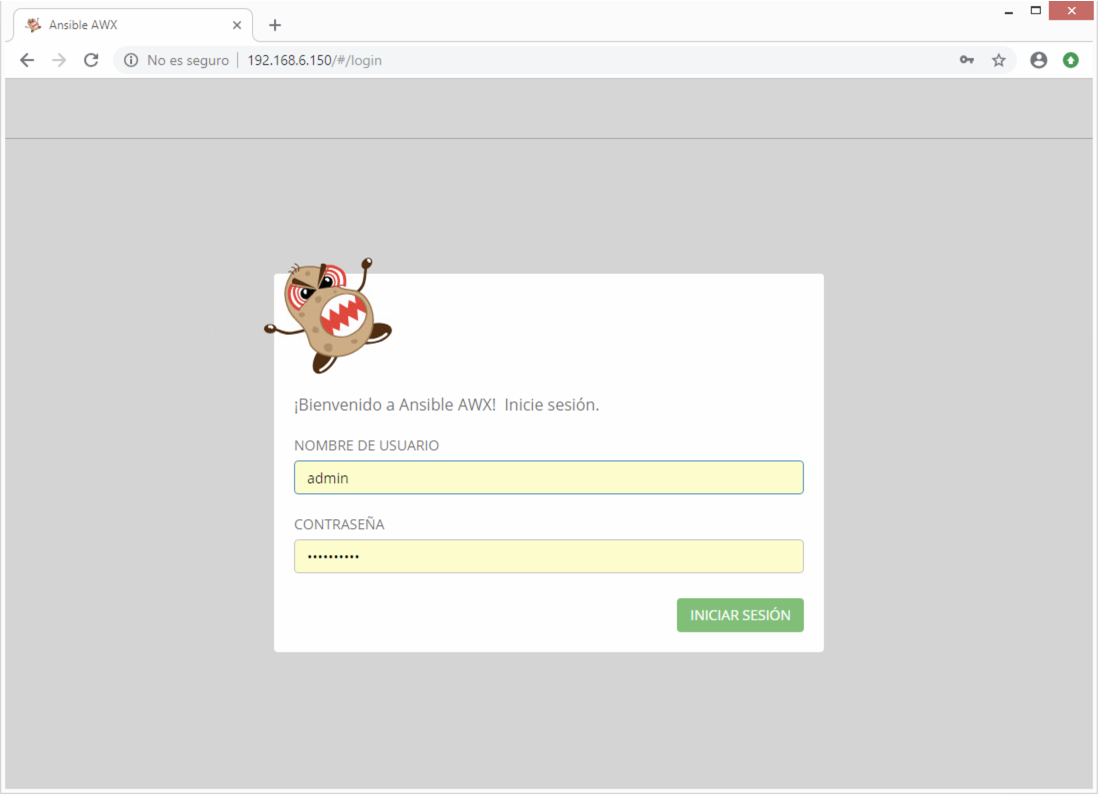
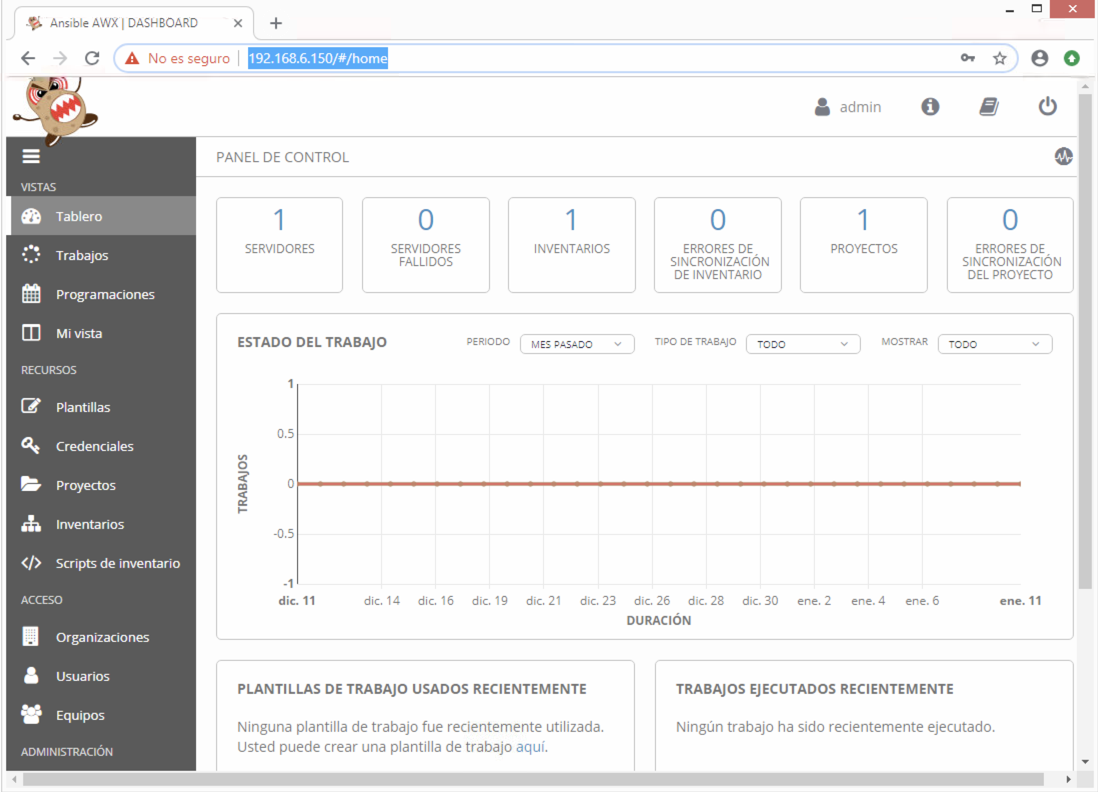
4) Acceso al portal
Se accederá al portal a través de un navegador web:
http://ip_or_fqdn/#/login
Usuario: admin Pass:password
Ya para finalizar, si quereis dar un paso mas y automatizar el despliegue de AWX, os dejo este role que me parece bastante interesante y que el hombre se ha currado un montón ;-)
Espero que os guste y os sirva de ayuda.
Un saludo!
Miquel.